SendGrid
Overview
SendGrid destination allows you to create and send emails via Journeys created in Intempt.
Prerequisites
Before setting up the Sendgrid integration with Intempt, you must set up your SendGrid account.
Complete the following settings in SendGrid before you set up integration with Blueshift:
Let Intempt access your SendGrid account.
- Configure Sender Authentication or subdomain in Sendgrid
- Create an API key in SendGrid.
You can directly set up integration with Intempt if you think that you already have all of the necessary credentials.
Configure Sender Authentication in SendGrid
- Under Settings in the navigation bar, click on sender authentication
- Click Verify a Single Sender under Single Sender Verification
- Click Create New Sender to load a form modal.
- Fill in all of the fields in the form modal and then click Create.
Configure a subdomain in SendGrid
-
Configure Sending Domain authentication and configure Reverse DNS. For more information, see SendGrid DNS authentication documentation.
-
Add SendGrid DNS entries with your hosting provider. Each hosting provider's configuration varies. Ensure that you follow the steps that your DNS provider supports.
-
Verify the subdomain in Sendgrid:

Create an API key in Sendgrid
- Go to Settings > API Keys in the left navigation.
- Click Create API Key.
- Give your API key a name.
- Under API Key Permissions, select Full Access and select the following permissions.
- Click Create & View.
- Copy your API key and save it.
Important
You will be shown your API key one time only. Ensure that you save it as you will not be able to retrieve or restore it.
How to create a new SendGrid destination
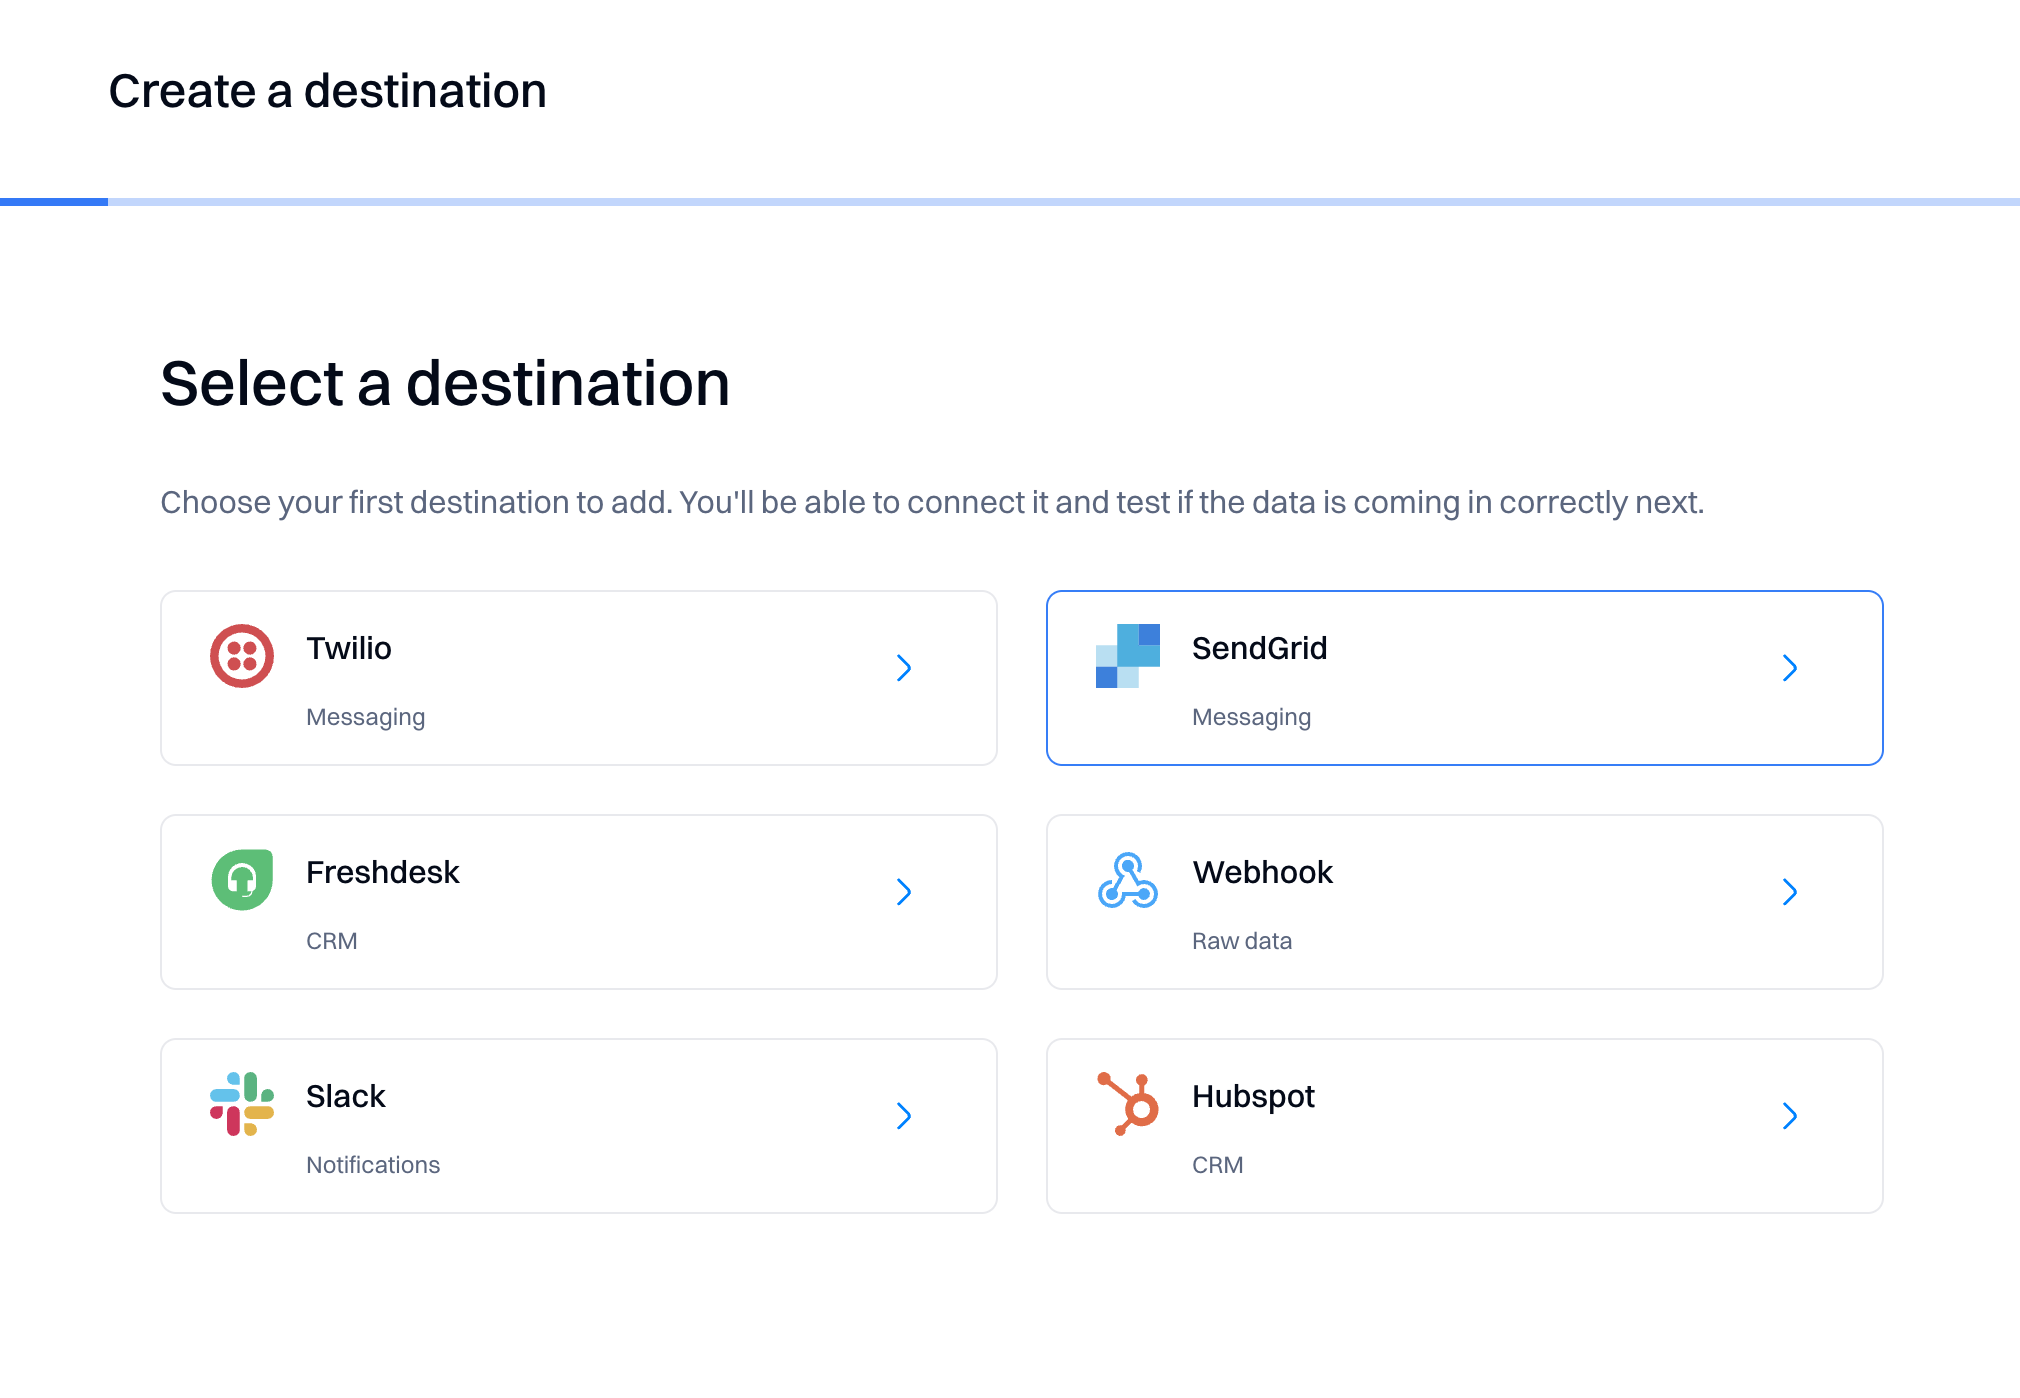
Go to Destinations and select "Create destination" -> Sendgrid option.

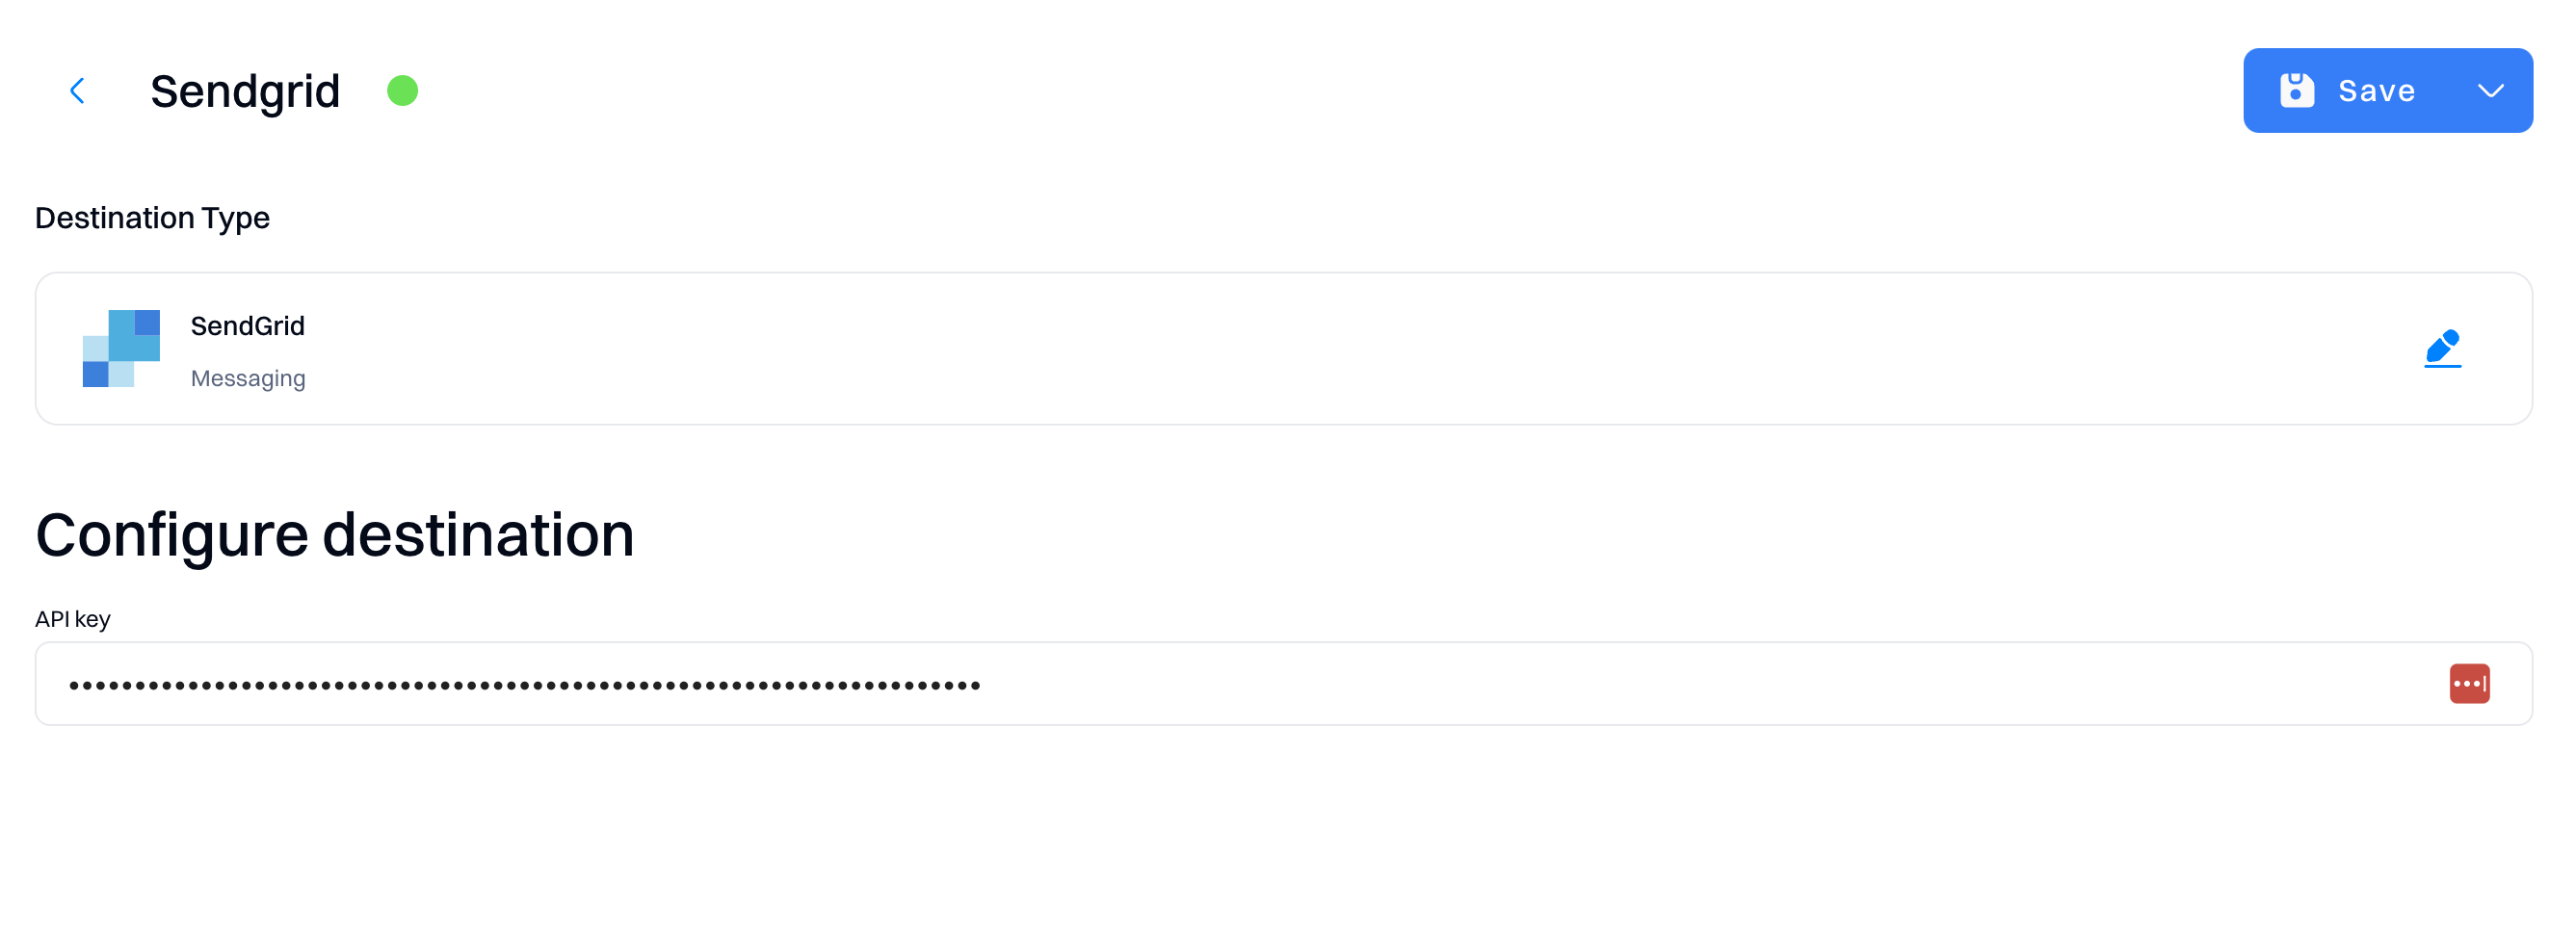
Enter your API key from your SendGrid account.

After creating the destination, you can use it to create email templates and engage your audience via Journeys.

Updated about 1 month ago